
I am so excited to share this trick with you all today! Did you know you can cut your drawing with Cricut Design Space?
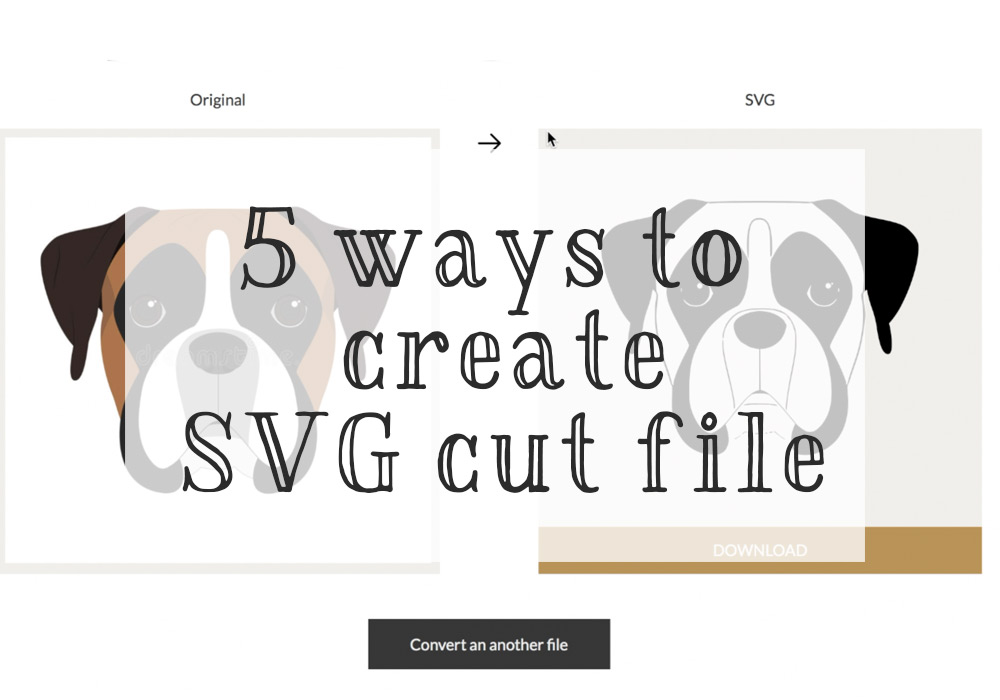
Here is what I experimented and tried for this tutorial.
Not bad, right?
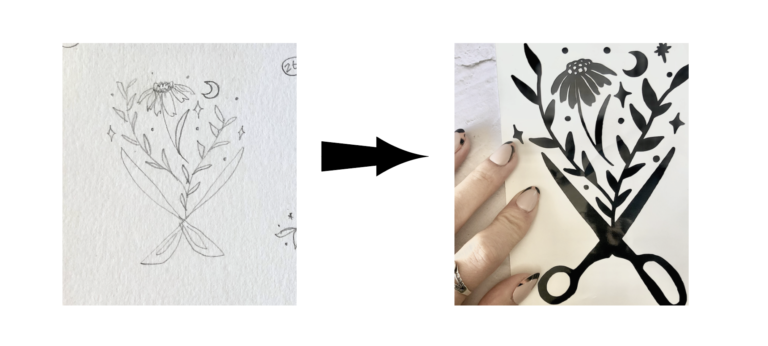
This was done with Cricut Design Space! Pretty good!
I didn’t really know about this trick until recently, but this is a game changer.
Why? Because with this trick, you can now cut your OWN design, including your kiddo’s doodles!!!
One of my followers contacted me and asked me how she can let her kid draw a picture, then cut the design and turn it into a shirt. Honestly, I didn’t have clear answer then, other than “get a professional editing software” to get it done.
But it turned out, it’s SUPER DUPER EASY.
All you need to prep is to get your iPad ready and download this famous drawing app: Procreate. (This app will cost $9.99 to use- but get this, this is a ONE TIME FEE. Yes, not a subscription app. which is A DEAL! … well to me, at least).
And that’s it! All is left is to be creative.
Here is the Youtube video I put together. But if you prefer to watch and earn, I have a video tutorial as well.
Scroll down if you are prefer to read the step-by-step process on how to cut your drawing with Cricut Design Space.
Hope you learn something new and useful!
WRITTEN STEP-BY-STEP-TUTORIAL
1. Draw Design With Procreate

With Procreate, draw your design with black solid line.
You can be as creative as you want, but you know how weeding goes.
Try NOT to draw tiny details, or don’t use too many colors- as Cricut Design Space won’t be able to convert it well.
2. EXPORT YOUR DESIGN

When you are done with your work, you can then export it to either PNG or JPG file.
Go to top eft corner, click “share” and save the image as either of the extension I just mentioned.
(In this tutorial, I then transferred the image onto my computer. I strongly recommend using laptop or computer, as the conversion process might be easier this way!)
3. UPLOAD ONTO Cricut Design SPACE

As you normally upload your SVG or PNG file, upload your design to Design Space. Oncer the image is uploaded, it will give you an option.
Assuming you are using one color (black), choose “simple” and then click continue.
4. Trance And CONfigure

On the next page, Design Space will give you an editing option.
With your mouse, Click any white negative space that are not part of your design. Doing so remove the white negative space, leaving only the shape of your design for Design Space to create cut lines.
When you are done, click “continue”.
5. CUT!

In the next page, Cricut gives you 2 choices; “Cut Image” and “Print Then Cut”.
Make sure to choose “Cut Image” for this one.
Now you are ready to cut your own image! Go crazy and customize everything you can find in your room!